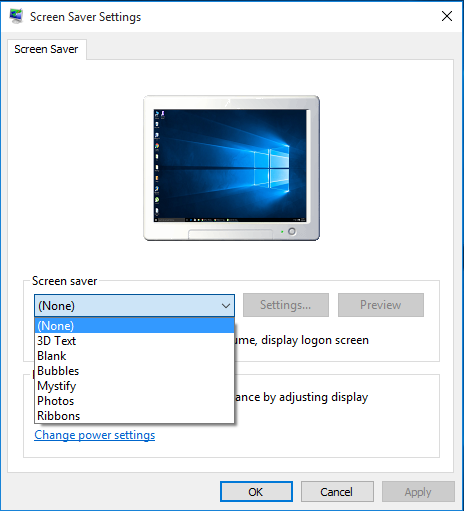
In Windows 10 there are many things which are changed. For example the “Control Panel” is replaced by the “Setting App”. Many setting which were found in previous Windows are been eliminated from Windows 10. For example Screen Saver settings. Actually all the options which are eliminated are present in Windows 10. But are hidden. So if you want to have access to Screen Saver setting you have to do something. But what?
Steps To Access Screen Saver Settings In Windows 10:
There are two ways to have access to Settings.
Method 1
This method is the simplest method to access the settings.
- Click on the Search Menu.
- Type the following-
ch sc
- And hit Enter. That’s it. Now the Screen Saver setting menu will open.

Screen Saver Settings
Method 2
- Open “Run” window by pressing “Windows Key + R “.
- Now type the following-
control desk.cpl,,1
- Hit Enter. Now the setting will open.
Now select the screen saver you want. Click “Apply” and then “Ok”.
Check this video tutorial for better understanding.
That’s it.


Add Comment